Free advertising for independent devs
Posted by Kyle Hankinson February 23rd, 2021
As an independent developer, I know how hard it is to advertise. That's why I want to take this opportunity to allow other independent developers to advertise their products via Daily Sales Email.
Requirements
To advertise with Daily Sales Email, four things are needed:
- Title A short title. Usually the name of the app or product.
- Description A longer description descring the app or product to the end user. It must be 200 characters or shorter.
- Icon An png image of at least 128x128px.
- Link A link to where the user will be taken when interacting with the advertisement.
In addition, you must have a Daily Sales Email account (it can be a free account).
Example
Advertisements appear at the bottom of each email. An example advertisement would look as follows:
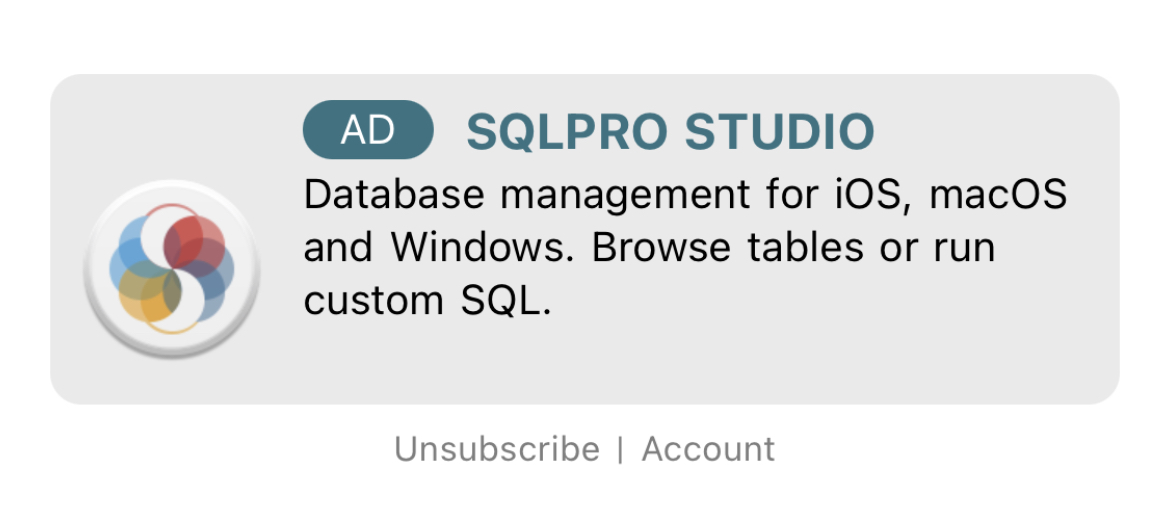
Paying users have the ability to disable advertisements should they wish.
A list of the active advertisements is available here.
Get started
Once you have created an account and logged in, you can update your advertisement. Each time an advertisement has been updated it is removed from the rotation until it has been manually reviewed. (You may need to contact me and let me know you would like your ad reviewed).
Notes
Advertisements will not be free forever. Some TBD time in the future free advertisements will be disabled. Advertisement approval is completely at my discretion. If I feel an app is low quality, the advertisement will not be approved.
Getting started with Daily Sales Email
Posted by Kyle Hankinson February 12th, 2021
Getting started
First, you will need to create an account. Once you have signed up and validated your email address, you will need to access your account, then select the App Store Connect section.
You will need to gather the following four items to populate the App Store Connect parameters and to begin receiving your Daily Sales Email.
- Vendor ID
- Issuer ID
- Key ID
- API Key
All of these items require access to App Store Connect. Begin by signing into App Store Connect. For the Vendor ID navigate to Sales and Trends, then pick Payments and Financial Reports from the lower left section of the navigation bar. Finally, your Vendor ID will be at the top left section of the page.
The next three items (Issuer ID, Key ID and API Key) all come from the same location. Again, begin by signing into App Store Connect. Next, hit Users and Access. From here, you will want the Keys section of the top nav bar. You might need to tap the People label in order to make Keys visible.
Next, hit the large blue Plus button near Active. Give the key a name and choose the Sales and Reports for active.
TIP: If you are using a mobile device, you may need to rotate into landscape mode to view all details for the next step.
On this page, we now have eveything we need. The Issuer ID is at the top of the page. The Key ID is displayed along side your newly added key. Finally the API Key is available by using the Download API Key link for the newly added key.

Issuer ID, Key ID & API Key
NOTE: If the Copy Key ID or Download API Key buttons are not visible, you will need to tap/click the row first.